
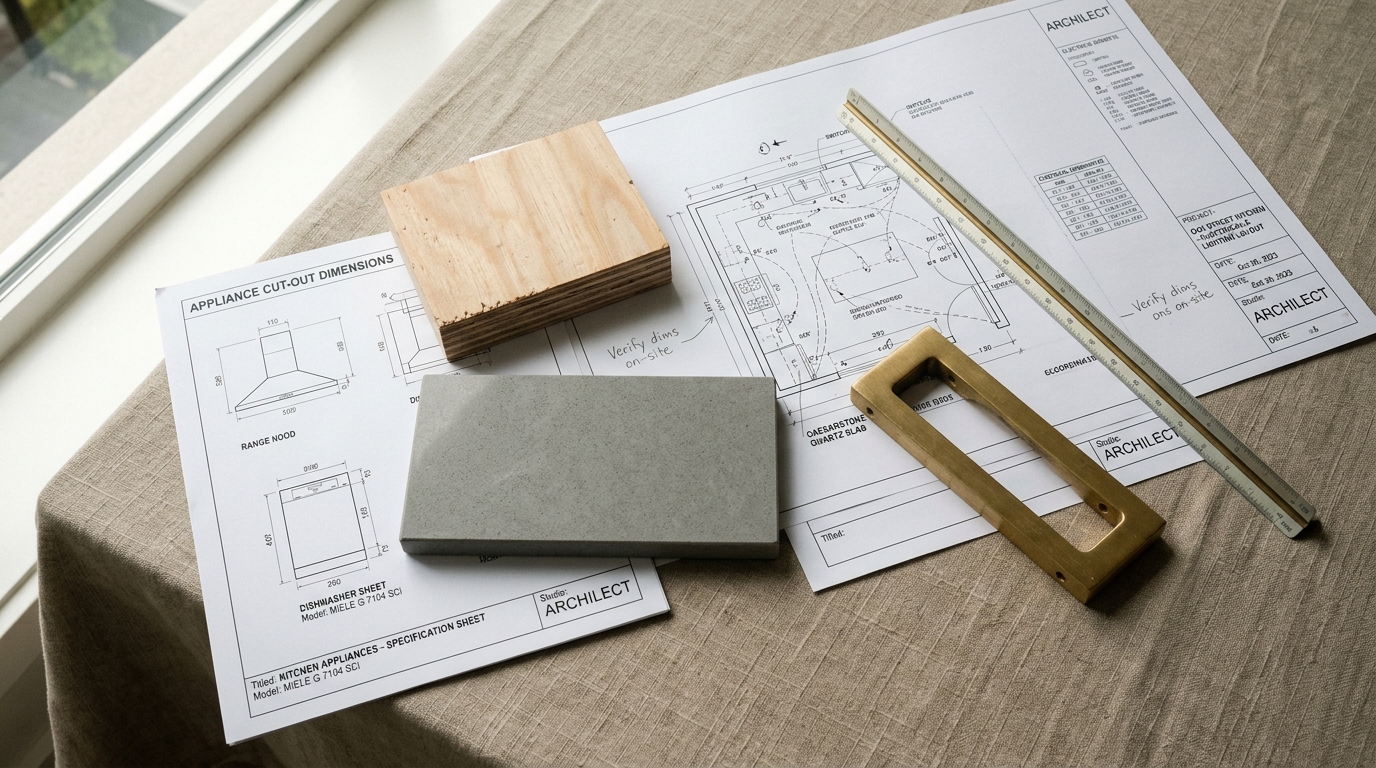
Before any contractor cuts a tile or chases an electrical conduit, exactly four foundational decisions must be locked in: verified site-measured dimensions, fixed appliance cut-out specifications, finalized switch and lighting coordinates, and a signed-off scope of work. Making aesthetic choices—such as paint swatches or laminate textures—before locking these structural dependencies is the primary reason apartment projects suffer delays, broken masonry, and unexpected variation bills.
In residential construction, decisions run on a strict one-way conveyor belt. If you decide on a dining table pendant light after ceiling plastering is complete, adding that light means cutting open drywall, pulling new electrical wiring through concrete slabs, and repainting the entire ceiling. If you choose an induction hob after stone countertops are fabricated, the aperture cut-out may be structurally impossible to modify on-site without cracking the slab.
Understanding what must be finalized—and in what specific sequence—protects both your timeline and your budget before trades step onto the property.
#Why Interior Decisions Follow a Strict Physical Sequence
Homeowners frequently ask if they can start cabinet production while "figuring out the lights and appliances later." The physical realities of building make this impossible without severe compromises:
- Appliance dimensions govern cabinet carcasses. A 60cm built-in microwave requires a dedicated internal cabinet cavity, specific rear ventilation space, and an independent 16A electrical socket positioned in an adjacent cabinet carcass (never directly behind the appliance where it blocks flush insertion).
- Furniture coordinates govern electrical wall boxes. A two-way bedside switch must sit exactly 100mm to 150mm above the nightstand top. If you haven't selected the bed width or nightstand height, electricians will place the switchboard at an arbitrary builder height—frequently ending up hidden directly behind the headboard.
- Ceiling levels govern overhead joinery. High-rise apartments feature concrete structural downstand beams and fire sprinkler pipes. Overhead kitchen lofts and floor-to-ceiling wardrobes cannot be built until physical ceiling levels are verified against laser levels on-site.
Skipping any step in this sequence forces contractors to make educated guesses. When those guesses turn out wrong, you pay for both the demolition and the rebuild.

#The Pre-Execution Decision Schedule
The table below outlines the non-negotiable decisions that must be frozen before each subsequent construction trade begins work on-site:
| Project Phase | Decisions That Must Be Frozen | Consequence of Late Changes |
|---|---|---|
| Phase 1: Civil & Masonry | Wall relocations, niche locations, plumbing drain/inlet centerlines, bathroom fixture types | Hacking cured masonry, repointing waterproofing membranes, replastering walls |
| Phase 2: Electrical & MEP | Appliance wattage ratings, switchboard heights, task lighting drops, AC drain slopes | Chasing conduits through finished plaster, patching drywall, pulling new cables |
| Phase 3: False Ceilings | Recessed downlight coordinates, curtain pocket depths (150–200mm), AC copper piping paths | Cutting and re-framing GI metal ceiling channels, patching gypsum, full room repainting |
| Phase 4: Joinery Fabrication | Core substrates (BWP vs MR), hinge hardware specs, exact appliance cut-out sheets | Scrapping factory-machined panels, re-ordering boards, project schedule delays |
| Phase 5: Surface Finishes | Countertop stone thickness, laminate/veneer codes, wall paint sheens and undertones | Mismatched batch dye lots, edge profile chipping, extensive surface rework |
#Step 1: Define Hard Scope Boundaries (What You Are NOT Doing)
Before requesting estimates or hiring a designer, write down the exact boundaries of your project. Unclear scope is the single largest cause of mid-project cost escalations.
Categorize your space into three clear operational buckets:
- Mandatory Day-One Inclusions: Functional spaces you cannot live without—primarily the modular kitchen, primary bedroom wardrobes, and bathroom mirrors and storage.
- Secondary Enhancements: Items that enhance comfort but can be phased if necessary—such as guest bedroom joinery, study units, or balcony decking.
- Explicit Exclusions: Work you have decided not to undertake now—such as remodeling secondary bathroom tiling or replacing builder-provided floor tiles.
Defining what you are not doing is just as important as listing what you want. It gives your design team a definitive boundary and prevents contractors from padding quotations with speculative allowances.
#Step 2: Measure Physical Reality, Not Marketing Floor Plans
Never authorize custom joinery fabrication based purely on a developer's sales brochure. Promotional marketing floor plans represent an idealized architectural concept; they do not reflect actual on-site construction tolerances.
Before joinery drawings are locked in, insist on an on-site laser survey to document:
#Plumbness of Masonry Walls
In high-rise construction, masonry and concrete shear walls regularly deviate from true plumb by 15mm to 25mm across an 11-foot span. Standard modular cabinets built to theoretical 90-degree angles will leave awkward wedge gaps unless site tolerances are factored into filler panels during factory cutting. Review our detailed guide on bengaluru apartment handover verification to learn how to document wall deviations before fit-out begins.
#Beam Drops and Ceiling Clearances
Fire sprinkler pipes, HVAC sleeves, and concrete ceiling beams dictate the maximum height of overhead kitchen lofts and floor-to-ceiling wardrobes. Discovering a structural beam after factory panels arrive forces expensive on-site recutting and compromises factory edge-banding.
#Plumbing Shaft Coordinates
Measure the exact centerlines of existing kitchen sink drains, water inlets, and external utility traps. Moving a sink drain five feet across a kitchen requires raising the floor screed or building an awkward step to maintain gravity drainage.
#Step 3: Map Out Daily Routines and Storage Profiles
An interior should conform to your daily routines, not the other way around. Copying standard catalog layouts usually leaves homeowners with wasted shelf space and cluttered countertops. Document your household's practical habits:
- Storage Inventory: Do you have extensive hanging requirements for traditional clothing, or do you need double-tiered hanging rails for business shirts? Do you need dedicated tall storage for golf bags, luggage, or musical instruments?
- Work-from-Home Requirements: With hybrid working standard across Bengaluru, determine whether you need an acoustically private home office with a closed door, or an integrated desk niche in a living or guest room.
- Entertaining vs. Private Living: If you host frequent weekend dinners, your layout must prioritize dining table circulation and food staging. If you rarely entertain, allocating more square footage to a comfortable private lounge or larger study is a better use of space.
Resolving these functional priorities through dedicated professional space planning ensures your square footage is allocated to the rooms where you spend the most waking hours.
#Step 4: Finalize Electrical and Appliance Rough-Ins
Electrical and plumbing shifts are the most difficult and expensive elements to modify once execution begins. Chasing conduits into masonry walls produces dust, weakens plaster, and disrupts finished surfaces.
Before any joinery is built, finalize:
- Kitchen Appliance Rough-Ins: The precise coordinates and electrical amp ratings for your hob igniter, chimney exhaust, microwave, dishwasher, water purifier, and refrigerator.
- Switchboard Coordinates: Verify that switchboards sit on the latch side of entry doors at standard ergonomic heights (typically 1200mm from finished floor level), ensuring they are never obscured behind open door swings or wardrobe panels.
- Task Lighting Points: Under-cabinet LED profile channels, pendant drops over the dining table, and bedside reading sconces require concealed conduit wiring during early civil stages. Read our guide on planning lighting before furniture to understand why lighting points must precede ceiling work.
- Media and Tech Cabling: Plan dedicated outlets, HDMI conduits, and Wi-Fi access point locations directly behind media consoles and desks to keep cables completely out of sight.
#Step 5: Establish Material Performance and Durability Standards
Rather than trying to pick every individual laminate, tile, and paint shade in isolation, establish clear performance thresholds for each room:
- Wet Zones (Kitchen & Utility): Insist on certified Boiling Waterproof (IS 710 BWP) Marine Plywood for all under-sink and base cabinetry. Standard commercial ply will delaminate within months if exposed to sink leaks or high humidity.
- Dry Storage (Wardrobes & Living Units): Moisture-Resistant (IS 303 MR) plywood or calibrated HDHMR provides exceptional dimensional stability and smooth substrate surfaces for laminate or acrylic finishes.
- Hardware Mechanisms: Specify soft-close drawer runners and concealed hinges rated for minimum 50,000 opening cycles from recognized European manufacturers. Hardware failure is the most common reason homeowners become dissatisfied with modular joinery after two years.
#Step 6: Maintain a Financial Contingency and Realistic Schedule
The final prerequisite before on-site work begins is setting realistic financial and schedule expectations.
#Maintain a 10% to 15% Contingency Buffer
No matter how thoroughly an interior is planned, opening up a site reveals minor surprises: an uneven concrete floor that requires self-leveling screed, an unannounced electrical conduit in a demolition wall, or a preference for an upgraded quartz slab during a showroom visit. Maintaining a dedicated contingency reserve prevents financial stress midway through the build.
#Understand the Physical Sequencing Timeline
Quality interior craftsmanship depends on sequential fabrication and drying times that cannot be safely compressed:
- Design & Working Drawings: 3 to 5 weeks
- Civil, Electrical & False Ceiling Framing: 3 to 4 weeks
- Modular Factory Production: 3 to 4 weeks (runs concurrently with site civil prep)
- On-Site Installation, Countertops & Paint Finishes: 3 to 4 weeks
- Final Snagging & Handover: 1 to 2 weeks
Attempting to compress these natural curing and assembly cycles often results in bubbling laminate, cracked drywall joints, and misaligned cabinetry.
To understand how structured planning ensures predictable execution, review our design process or explore our full-scope residential interior design services.